

How I sew a knife sheath
- Keld Lisby Hansen

- Dec 1, 2025
- 2 min read
Here I show how I sew the knife sheath using saddle stitching. This method ensures that the seam is strong and durable because the thread passes through the leather in a way where each stitch supports the next. This creates a stable construction that withstands use over time, while the stitching also has a neat and uniform appearance along the entire edge of the sheath. The technique requires that the holes are precisely marked and that the thread is guided evenly, so the leather does not pull crooked or wrinkle during sewing.

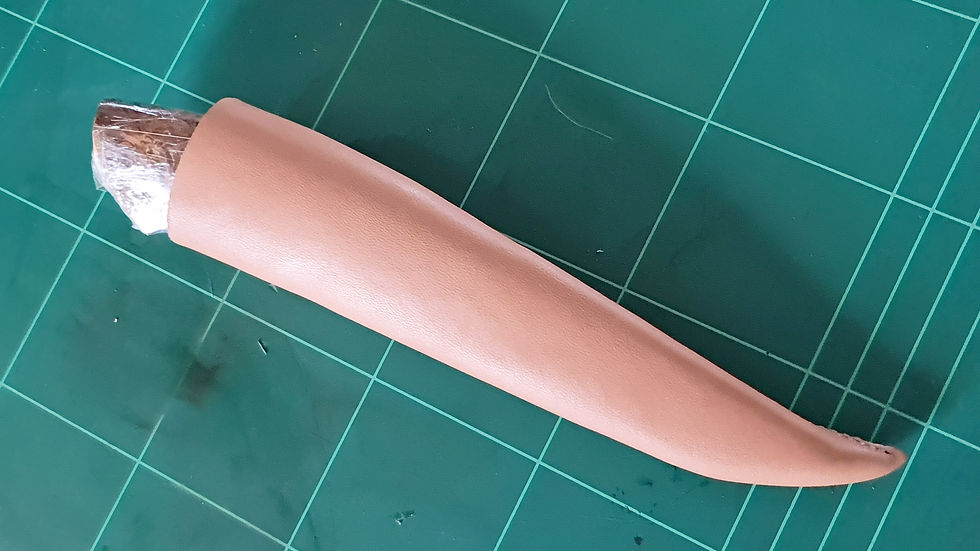
Before starting the sewing itself, it is important to prepare the leather properly. I soak the leather with the flesh side up. The flesh side best shows how the leather reacts to water, and small bubbles become visible as the leather begins to absorb it. The bubbles gradually disappear, and when they no longer appear, the leather has absorbed as much water as it can and is ready for further work. This soaking usually takes around 10 minutes. The purpose is to make the leather more flexible so it can bend and shape without cracking during sewing and knife assembly.

For sewing, I use dental floss. I prefer the cheapest type, which is thin but still strong enough to hold the leather together. The thread is smooth, which allows it to slide easily through the leather, but this also requires tying a knot for each stitch; otherwise, the seam can loosen. The sewing itself is done with two needles, one at each end of the thread – this is called saddle stitching.

Once the thread is through the needle, it can be locked by piercing the needle through the thread – this locks it in place and eliminates the need to tie a knot at the start.

I begin sewing from the bottom of the sheath. The reason is that the final three back stitches, which lock the seam, are placed at the top, where there is more space to work.

Each stitch is secured with a knot, made by wrapping the thread three times around the needle before pulling it tight. This ensures that the seam does not slip and holds the leather tightly together. The sewing continues upward with saddle stitching, with a knot for each stitch.

When reaching the top, I lock the seam by sewing three stitches back – again with a knot for each stitch – before trimming the thread ends.
At this point, the small “beads” along the seam begin to appear for each stitch. These beads result from pulling the thread evenly with the correct tension through the leather, giving a consistent and decorative seam. In another post, I go into more detail on how the stitches are shaped and adjusted so that they eventually form the fine beaded stitching, which provides both a beautiful visual effect and keeps the leather held securely together.
When the knife is first mounted in the sheath, I can feel the fit. The knife should fit slightly loose in the sheath, as the leather will naturally shrink as it dries.


Comments